
Preventing Gel Nail Lifting: Pro Tips & Troubleshooting
Preventing gel nail lifting requires meticulous nail plate preparation, including thorough cuticle removal and dehydration. Gel nail lifting troubleshooting involves identifying causes like improper curing, product overexposure on the skin, or inadequate buffing. Ensuring a clean surface and using high-quality primers are essential best practices for professional nail technicians to maintain service longevity.
Common Causes of Professional Gel Lifting
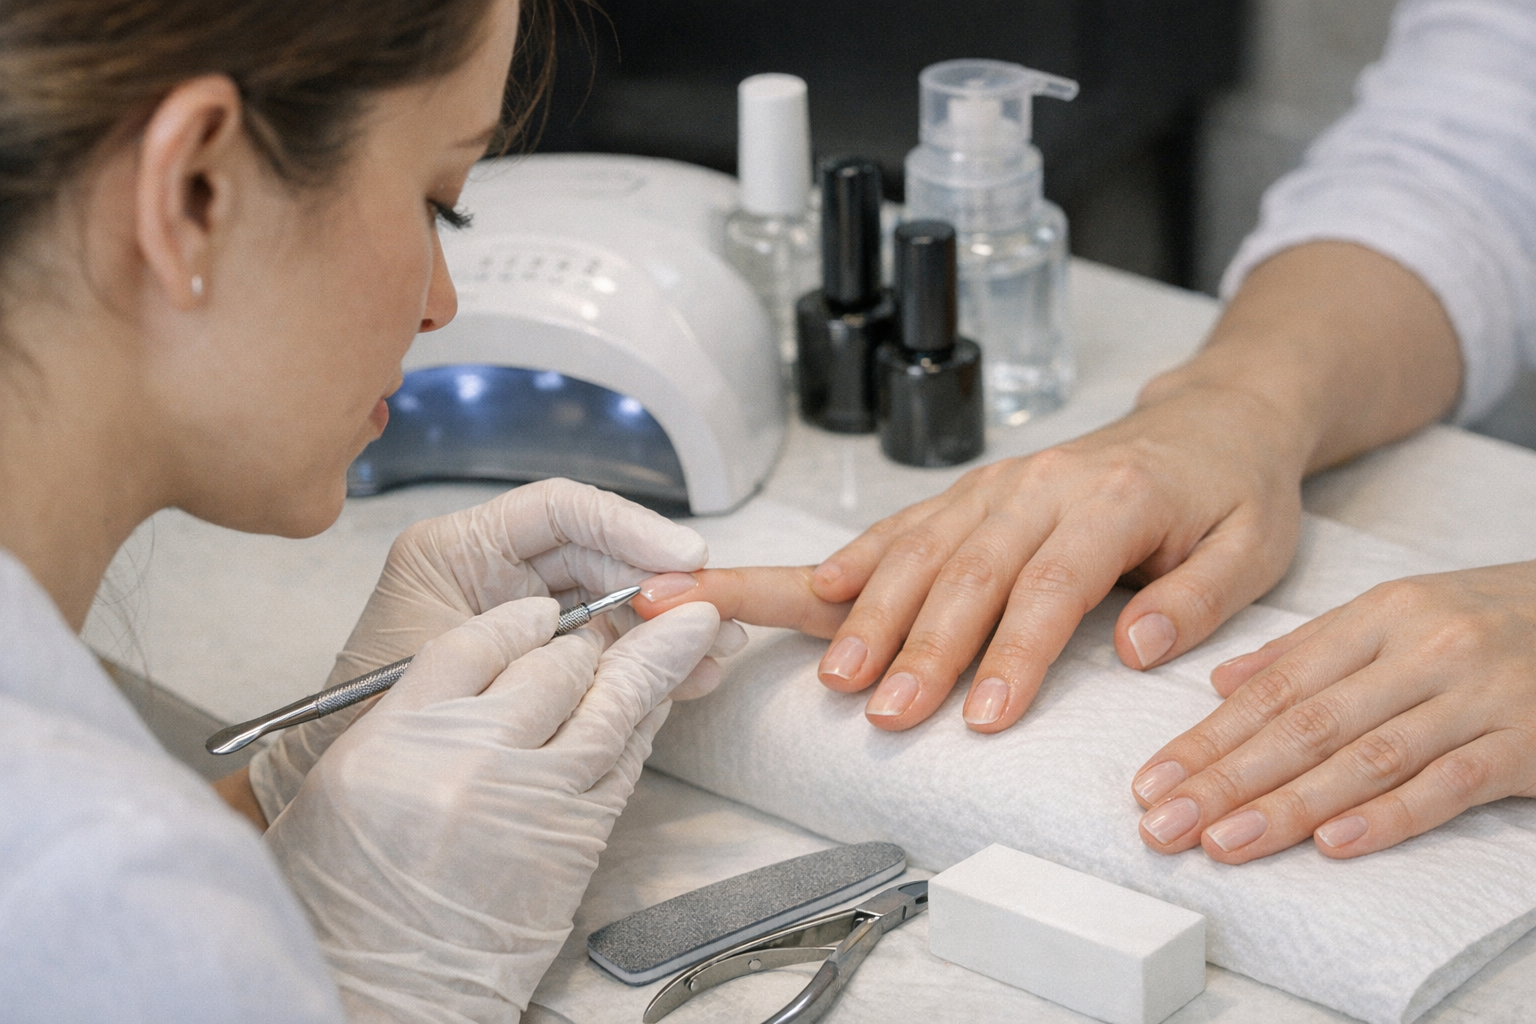
Inadequate preparation of the natural nail plate is the primary reason for premature lifting. Even microscopic traces of cuticle tissue or surface oils can prevent the gel base from bonding correctly.
Over-filing the nail plate during preparation can lead to thin, flexible nails that bend away from the rigid gel. This mechanical stress causes the product to separate from the free edge or sidewalls.
Environmental factors also play a significant role in product adhesion. Nail technicians in humid climates like Florida often encounter more lifting issues if they do not use extra dehydrating agents.
Product Application Errors
Applying gel polish too thickly prevents the UV or LED light from penetrating to the bottom layers. This results in an under-cured base that slides off the nail plate within days.
Touching the skin or proximal nail fold with the product is a frequent mistake. Once the gel cures to the skin, it creates an entry point for water and oils as the skin naturally moves.
Advanced Troubleshooting Techniques
If a client experiences lifting at the cuticle area, check your e-file technique. Ensure you are removing all “invisible” cuticle protein from the lunula area without thinning the natural nail.
Lifting at the free edge usually indicates that the technician failed to cap the edge properly. In busy salons in New York, rushing this step often leads to service failures and costly re-dos.
Check your curing lamp bulbs regularly, as dimmed LEDs or old UV tubes will not provide a full cure. Under-curing is a hidden cause that often looks like a successful application initially.
Effective Nail Plate Dehydration
Using a high-quality professional pH balancer is non-negotiable for long-lasting results. This step removes surface moisture that naturally accumulates, especially in coastal regions like California.
Avoid using “two-in-one” cleaners that contain fragrance or oils for the final prep step. Stick to 99% isopropyl alcohol or specialized professional nail cleansers to ensure a pristine surface.
Best Practices for Maximum Durability
Implement a “dry manicure” technique to prevent the nail plate from absorbing water before application. Saturated nails shrink as they dry, causing the rigid gel layer to buckle and lift.
Educate clients on proper aftercare, such as wearing gloves when using harsh cleaning chemicals. Professional products are durable, but repeated exposure to solvents can compromise the chemical bond.
Always match your base coat to the client’s nail type. For clients with flexible nails, a rubber base or a more flexible soak-off gel will prevent the product from cracking and lifting.
Sealing the Free Edge Correctlly
The “cap” should be applied with the base coat, every color layer, and the top coat. Use a thin horizontal stroke across the very tip of the nail to seal the layers together.
Ensure that the cap is not too thick, as this can create a “bead” that gets knocked during daily activities. A smooth, sealed edge is the standard for professional nail services across the United States.