
Structured Gel Manicure Techniques for Professionals
A structured gel manicure is a professional nail technique that uses a high-viscosity gel to build a reinforced apex and correct the natural nail’s architecture. This professional method increases durability, prevents breakage at the stress points, and provides a smooth surface for color application in high-volume U.S. nail salons.
Understanding Nail Architecture and Apex Placement
Proper nail architecture is the foundation of a durable structured gel service. Technicians must identify the natural stress point where the nail is most likely to break under pressure.
The apex should be positioned strategically based on the length of the nail extension or natural plate. In most professional salons in California, the apex is placed in the back third of the nail.
Correct placement ensures that the weight of the gel supports the free edge without causing lifting at the cuticle. This balance is vital for clients with active lifestyles.
Essential Tools for Precision Execution
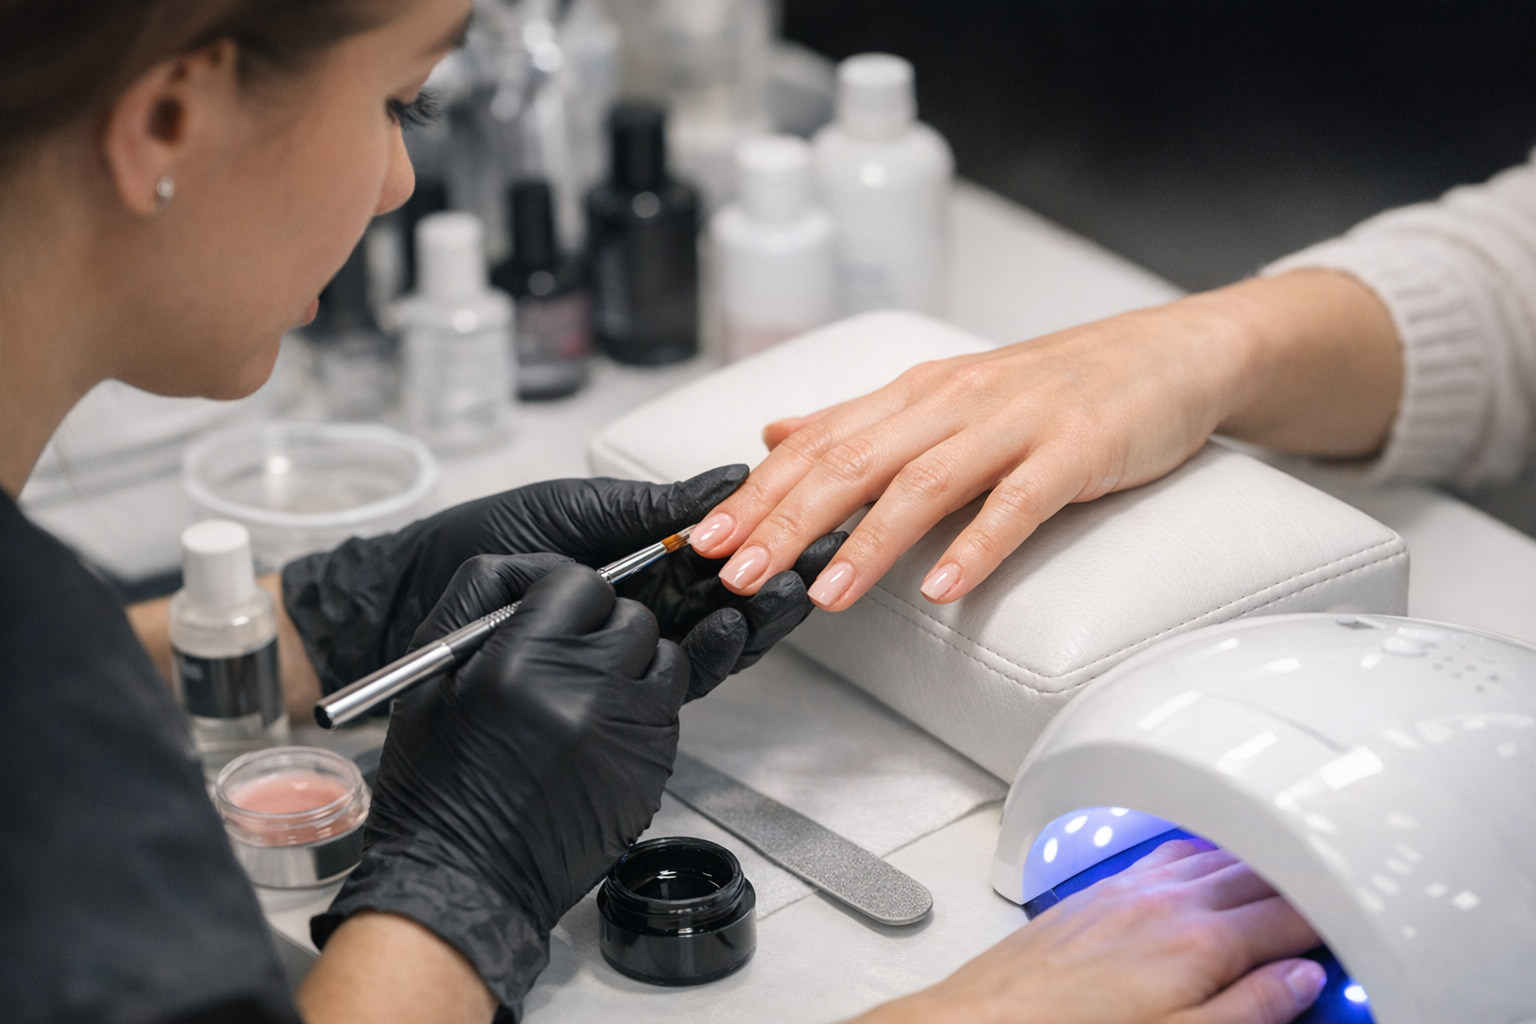
Execution requires a high-quality LED curing lamp with consistent wattage to ensure a full chemical cure. Incomplete curing can lead to service breakdown or chemical sensitivities.
A fine liner brush is a critical tool for guiding the gel bead toward the side walls. This allows for a thin application near the eponychium while maintaining central strength.
Nail technicians in Texas often utilize medium-grit carbide bits for refining the structure after curing. Precision e-file work creates a seamless transition between the gel and natural nail.
Choosing the Right Gel Viscosity
The choice between a medium and high-viscosity builder gel depends on the technician’s speed. Fast-working professionals prefer medium viscosity for its self-leveling properties.
Thicker gels provide more control for beginners or for repairing deep ridges in the nail plate. Both materials must offer high adhesion to prevent pocket lifting over time.
Step-by-Step Structured Gel Application
Begin with thorough mechanical preparation using a fine-grit sanding band to remove the shine. Dehydrate the nail plate and apply a professional-grade primer for maximum bond.
Apply a thin “slip layer” of gel over the entire surface without curing. This wet layer acts as a guide for the larger bead of gel to follow.
Place a bead of gel near the cuticle and push it gently toward the free edge. Use gravity by flipping the hand over to help the apex form naturally before curing.
Refining the Shape and Surface
After curing, cleanse the inhibition layer with high-percentage isopropyl alcohol. Inspect the profile of the nail for any dips or uneven thickness in the structure.
Use a 180-grit hand file to crisp up the side walls and the free edge shape. Professional standards in New York focus on a slim profile that remains incredibly strong.
The finished structure should be thin at the cuticle and free edge, with the bulk concentrated only at the apex. This creates a natural appearance with professional durability.
Common Challenges in U.S. Salon Workflows
Heat spikes can occur when applying thick layers of gel on sensitive or thin nail plates. Technicians should use “low heat” modes on lamps to manage exothermic reactions.
Flooding the cuticle is a common error that leads to immediate lifting and service failure. Maintaining a 1mm gap between the product and the skin is a professional requirement.
Efficiency in structured gel services is key to maintaining a profitable salon schedule. Mastering the “one-bead” method reduces the need for excessive filing and shortens service times.