
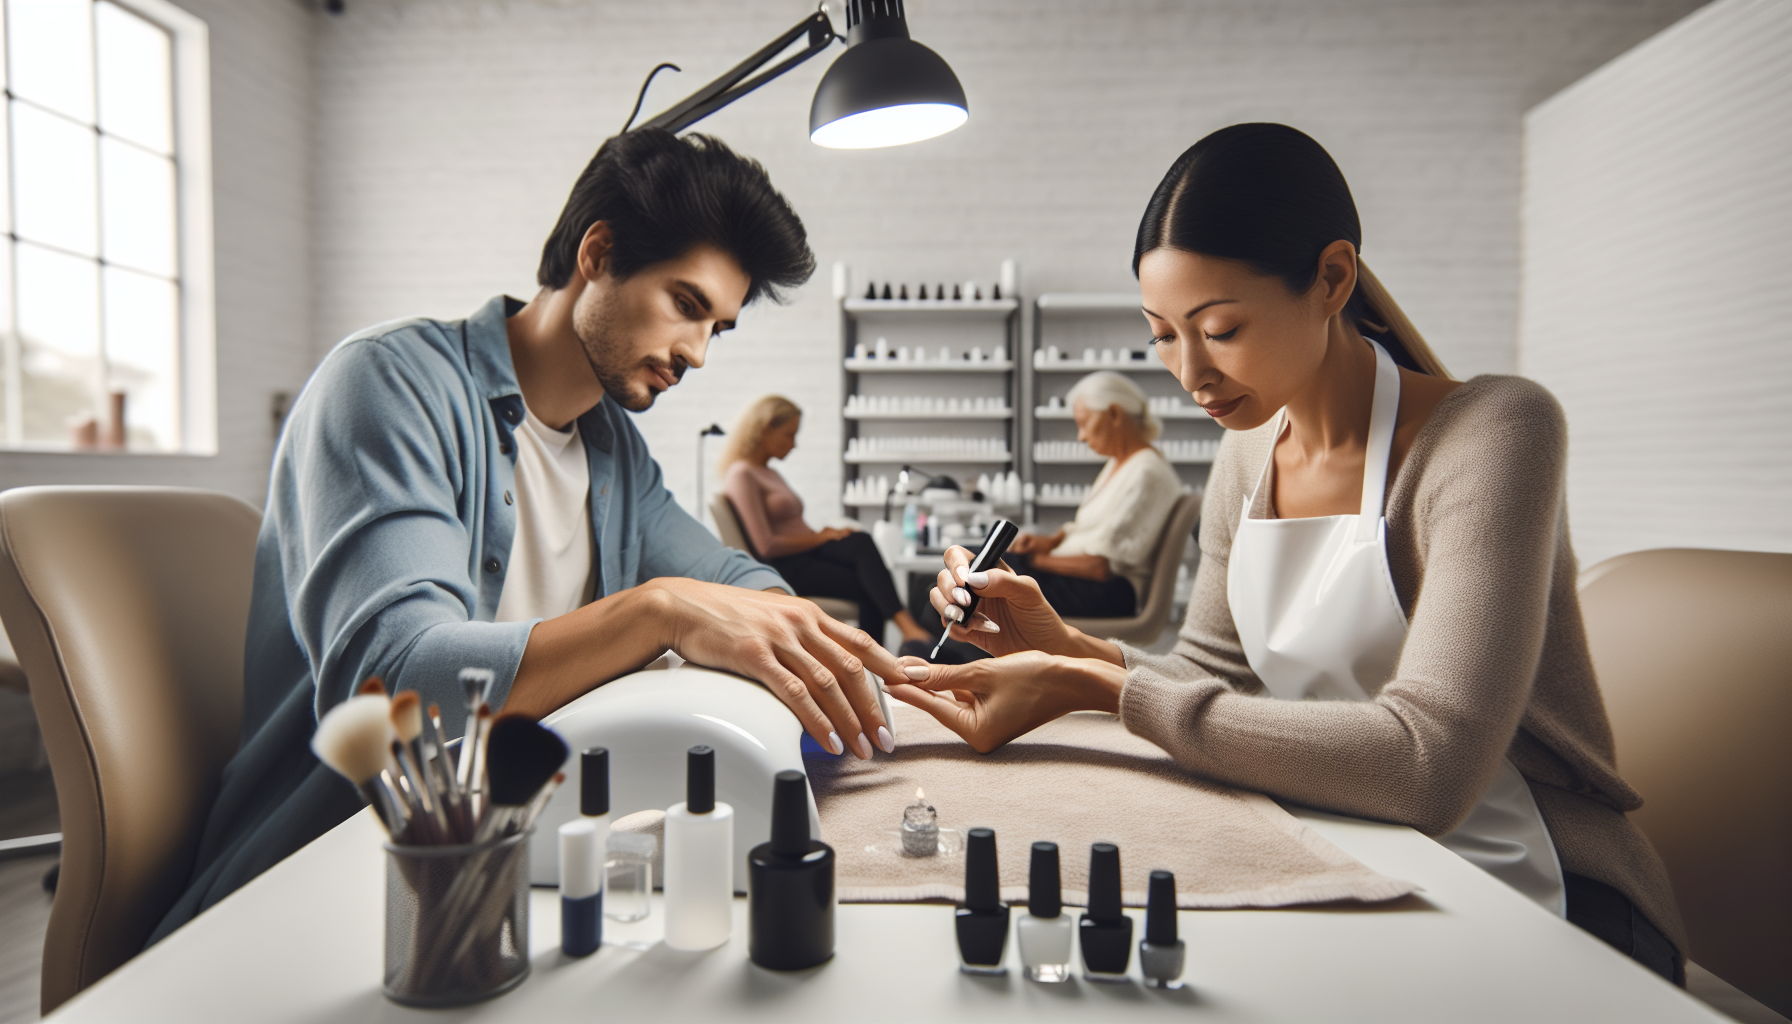
Professional Techniques for Structure Gel Application
Structure gel has become a cornerstone of modern nail services in the United States.
Mastering this medium requires a deep understanding of product viscosity and nail anatomy.
Proper execution ensures long-lasting results and protects the integrity of the natural nail.
Nail technicians must focus on precision during the preparation and application phases.
High-quality structure gel provides the necessary reinforcement for natural nails to grow.
This technique is essential for clients seeking a balance between flexibility and strength.
Advanced Preparation and Bond Foundation
The success of any structure gel service begins with meticulous dry manicure techniques.
Removing non-living tissue from the nail plate prevents premature lifting at the proximal fold.
Use a professional e-file with a fine diamond bit for maximum accuracy and safety.
Dehydration of the nail plate is a critical step for chemical adhesion.
Apply a pH-balancing agent followed by a high-quality protein bonder or primer.
In humid climates like Miami, ensuring the nail is completely moisture-free is vital for durability.
Mastering the Slip Layer Technique
The slip layer acts as a guide for the larger bead of structure gel.
Apply a very thin, uncured layer of gel across the entire surface of the nail.
This creates a slick path that allows the subsequent bead to self-level without flooding the sidewalls.
Precision at the sidewalls and cuticle area defines a professional finish.
Avoid touching the skin to prevent irritation and ensure a seamless growth-out process.
Use a liner brush to pull the product toward the free edge for a perfectly even coat.
Strategic Apex Placement for Maximum Durability
The apex is the thickest point of the nail enhancement, providing necessary structural support.
Place the main bead of gel in the stress zone, usually the center third of the nail.
Gravity-assisted leveling is a common trick used by expert technicians in Los Angeles salons.
Flip the client’s hand over for a few seconds to let the gel pool at the highest point.
This creates a natural arch that absorbs impact and prevents snapping at the free edge.
Check the profile view to confirm the apex is correctly positioned for the specific nail length.
Curing Protocols and Heat Spike Management
Structure gels often produce an exothermic reaction during the polymerization process.
Using a professional LED lamp with a “low heat mode” is essential for client comfort.
This gradual increase in light intensity manages the curing speed and reduces heat spikes.
Ensure the hand is placed correctly inside the lamp to avoid under-curing the thumbs.
Incomplete curing can lead to product breakdown and potential sensitivities for the nail technician.
Always follow the specific manufacturer’s timing for the chosen gel brand and wattage.
Refining and Finishing for Professional Results
After curing, cleanse the inhibition layer with high-grade isopropyl alcohol.
Use a 180-grit file to refine the shape and ensure the sidewalls are crisp and straight.
A professional structure gel service should require minimal filing if the application is precise.
For technicians in high-volume hubs like Chicago, efficiency in the finishing stage is key.
A smooth surface allows for a flawless top coat application or intricate nail art.
Apply a non-wipe top gloss to seal the enhancement and provide a long-lasting, high-shine finish.