
Professional Gel-X Extension Application
Gel-X extension application is a professional nail enhancement technique using pre-sculpted soak-off gel tips bonded to the natural nail with a specialized extend gel. This system provides a lightweight, durable alternative to traditional acrylics, requiring precise natural nail preparation and LED curing to ensure a secure, long-lasting bond.
Required Tools for Gel-X Services
Executing a high-standard Gel-X service requires specific professional-grade materials.
You need a high-quality LED lamp, pH bonder, non-acid primer, and soak-off extend gel.
Ensure you have a full range of tip sizes to accommodate various nail bed widths.
Quality files and e-file bits are essential for refining the cuticle area.
In busy salons in Los Angeles, efficiency depends on having these tools organized.
Proper tool selection prevents lifting and improves the overall service speed.
Natural Nail Plate Preparation
Longevity begins with meticulous preparation of the natural nail plate.
Remove all non-living tissue from the eponychium using a fine diamond bit.
Dehydrate the nail thoroughly to ensure the chemical bond remains intact for weeks.
Apply a layer of pH bonder followed by a professional non-acid primer.
This creates a tacky surface that allows the extend gel to adhere firmly.
Many technicians in New York prioritize this step to prevent premature lifting.
Sizing and Fitting Tips
Selecting the correct tip size is critical for structural integrity and comfort.
The tip must cover the nail from side wall to side wall without pressure.
If the tip is too small, it will pop off; if too large, it overlaps the skin.
Etch the inside of the Gel-X tip if it is not pre-etched.
Use an e-file or a chemical primer to create a porous surface inside the tip.
This ensures the extend gel creates a mechanical bond with the tip itself.
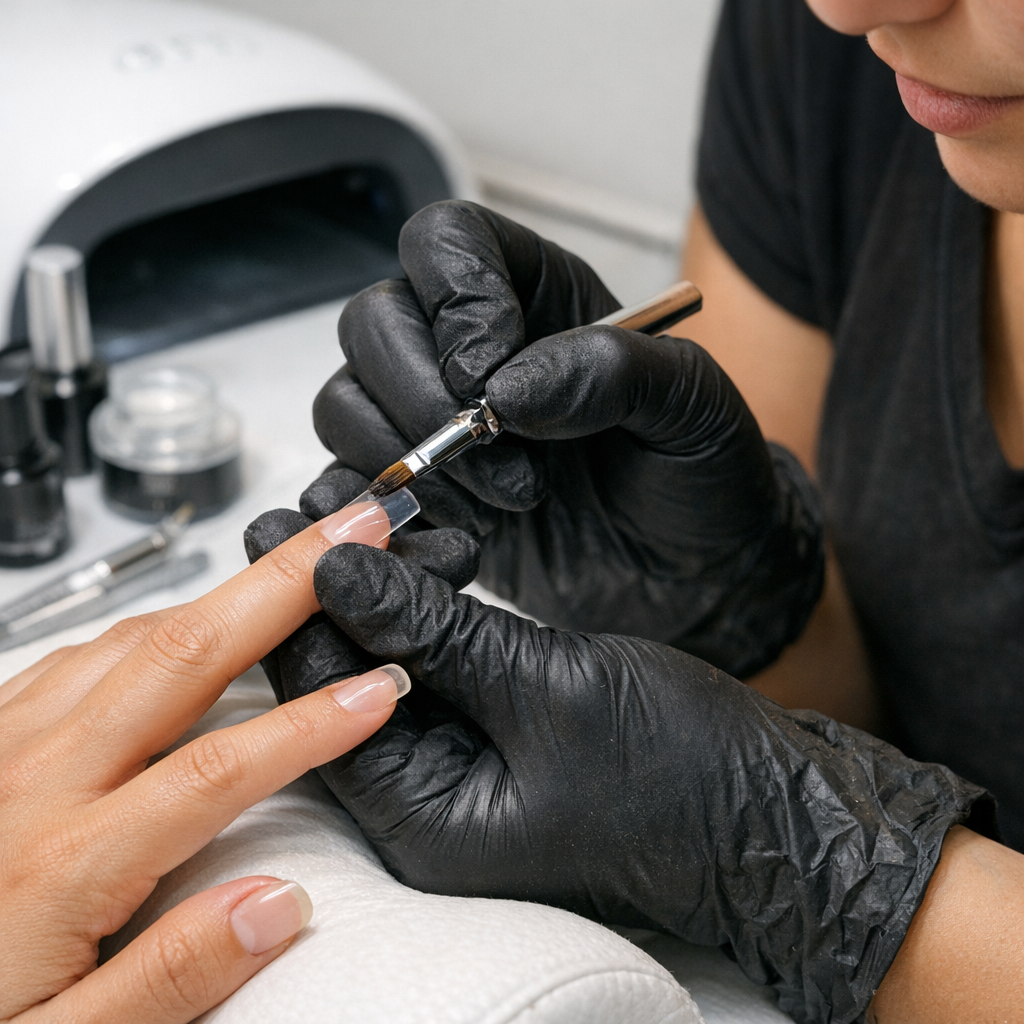
Step-by-Step Application Workflow
Apply a thin base layer of extend gel to the natural nail and cure.
Place a small bead of gel at the base of the tip’s underside.
Angle the tip at 45 degrees, starting from the cuticle and pressing toward the free edge.
Hold the tip firmly to ensure no air bubbles are trapped during application.
Flash cure the nail for 10 seconds using a handheld or gooseneck LED lamp.
Complete a full 60-second cure in a professional-grade lamp to finalize the bond.
Refining the Cuticle Area
Use a tapered carbide bit to flush the gel tip with the natural nail.
This creates a seamless transition that prevents snagging as the nail grows out.
A smooth cuticle area is the hallmark of professional Gel-X extension application.
Finishing and Service Durability
Shape the free edge according to the client’s preference using a 180-grit file.
Buff the surface of the tip to remove the shine before applying color.
This ensures gel polish adheres without chipping or peeling over time.
Follow United States industry standards for chemical safety and ventilation during filing.
Always check the side views to ensure the apex is correctly positioned for strength.
Properly applied Gel-X extensions should last three to four weeks with no lifting.