
Professional Builder Gel Application Technique
The builder gel application technique is a professional method of applying high-viscosity gel to reinforce the natural nail or create extensions. This process focuses on building a structural apex to provide impact resistance and durability. Nail technicians use this technique to achieve a balanced, smooth finish that requires minimal filing after curing.
Essential Tools for Structured Application
Successful builder gel execution requires a high-quality LED lamp with consistent wattage and a professional-grade gel brush.
Nail technicians in New York often prefer oval or square brushes for better control over product distribution.
Using a dedicated liner brush helps in detailing the sidewalls and cuticle area without touching the skin.
Ensure your workspace is equipped with 99% isopropyl alcohol and lint-free wipes for surface cleaning.
A high-grit buffer and specialized prep tools are necessary to create the proper surface tension for gel adhesion.
Properly maintained tools prevent service breakdown and ensure a professional standard in any high-end salon.
Surface Preparation and Dehydration
Long-lasting results begin with thorough mechanical and chemical preparation of the natural nail plate.
Remove the non-living tissue from the nail surface using a professional E-file or a manual pusher.
Nail technicians must ensure the cuticle area is completely clear to prevent lifting at the proximal fold.
Dehydration is a critical step in the builder gel application technique to remove oils and moisture.
Apply a professional-grade dehydrator followed by an acid-free primer to enhance the chemical bond.
Many salons in Los Angeles emphasize this step to maintain durability for clients in humid coastal climates.
The Slip Layer and Bead Placement
Creating the Foundation
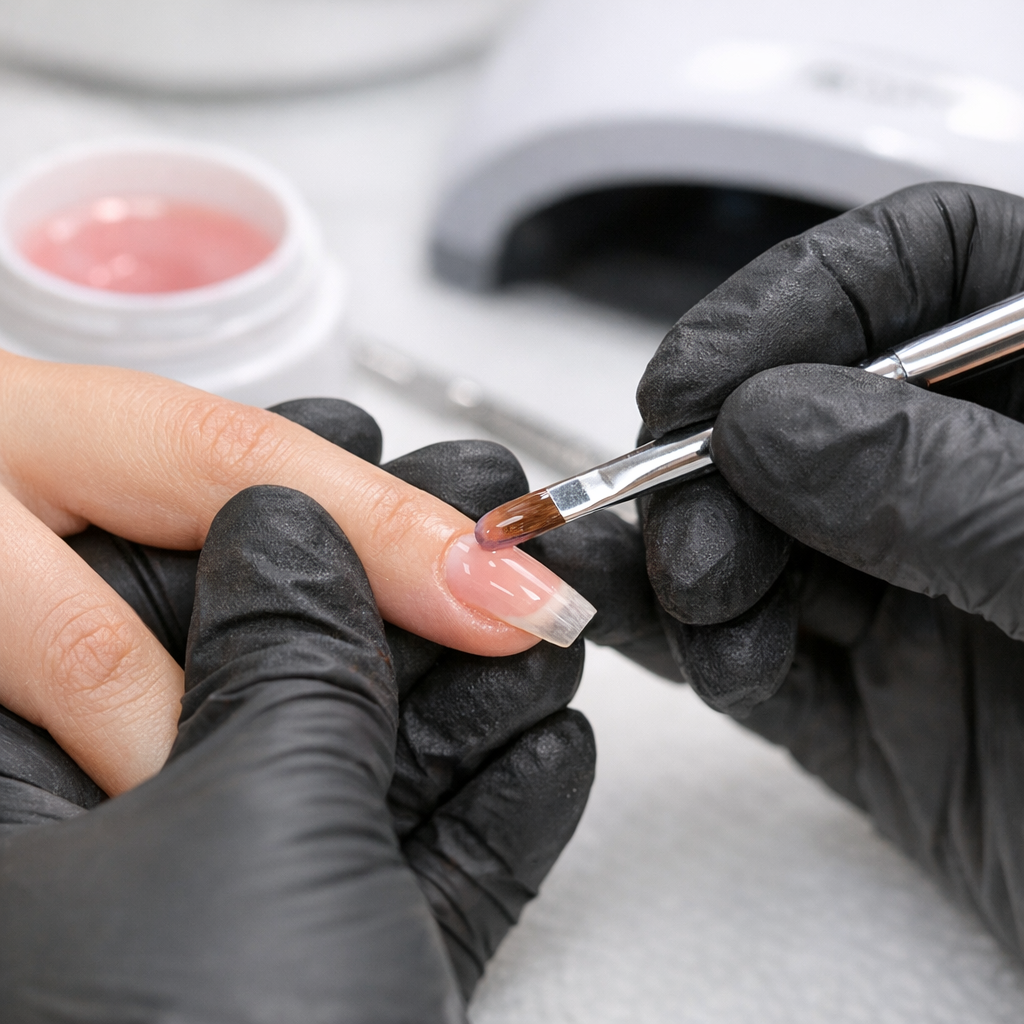
Begin by applying a very thin layer of builder gel over the entire nail plate, known as the slip layer.
Do not cure this layer, as it acts as a guide for the larger bead of product to follow.
This layer allows the gel to flow smoothly toward the edges without flooding the cuticle or sidewalls.
Executing the Apex Placement
Pick up a larger bead of gel and place it on the upper third of the nail plate near the stress zone.
Gently guide the product toward the free edge using a circular or zig-zag motion with your brush.
The builder gel application technique relies on surface tension to pull the product into a centered, balanced apex.
Refining the Surface and Curing
Once the product is positioned, flip the client’s hand over for several seconds to let gravity level the gel.
This professional trick helps create a smooth hemidome shape and centers the weight of the enhancement.
Check the light reflection on the nail surface to ensure there are no dips or uneven areas before curing.
Cure the nail in a professional LED lamp according to the manufacturer’s specific timing requirements.
Technicians in Chicago often use a “flash cure” for five seconds to set the product before completing a full cycle.
This prevents the gel from shifting and maintains the architectural integrity of the structured manicure.
Final Shaping and Finishing Touches
After curing, remove the inhibition layer with a lint-free wipe saturated in a professional cleanser.
Refine the free edge and sidewalls with a 180-grit file to ensure crisp lines and a symmetrical shape.
The builder gel application technique should result in a surface so smooth that only minimal buffing is required.
Finish the service by applying a high-shine top coat to seal the enhancement and protect the structure.
Applying cuticle oil after the final cure helps rehydrate the surrounding skin and showcases the professional work.
Consistently mastering these steps ensures a high-standard service that keeps professional nail clients returning.