
Professional Acrylic Nail Application Techniques
Mastering liquid and powder application is a cornerstone skill for any professional nail technician.
Achieving the perfect balance between polymer and monomer ensures long-lasting results.
This guide focuses on the technical execution required for high-standard salon services.
Understanding the Acrylic Bead Ratio
The foundation of a durable acrylic nail is the consistency of the bead.
A bead that is too wet will flood the cuticles and cause premature lifting.
Conversely, a dry bead will be brittle and lack the necessary clarity for a professional finish.
Nail technicians in high-volume salons in Chicago often practice controlled dipping.
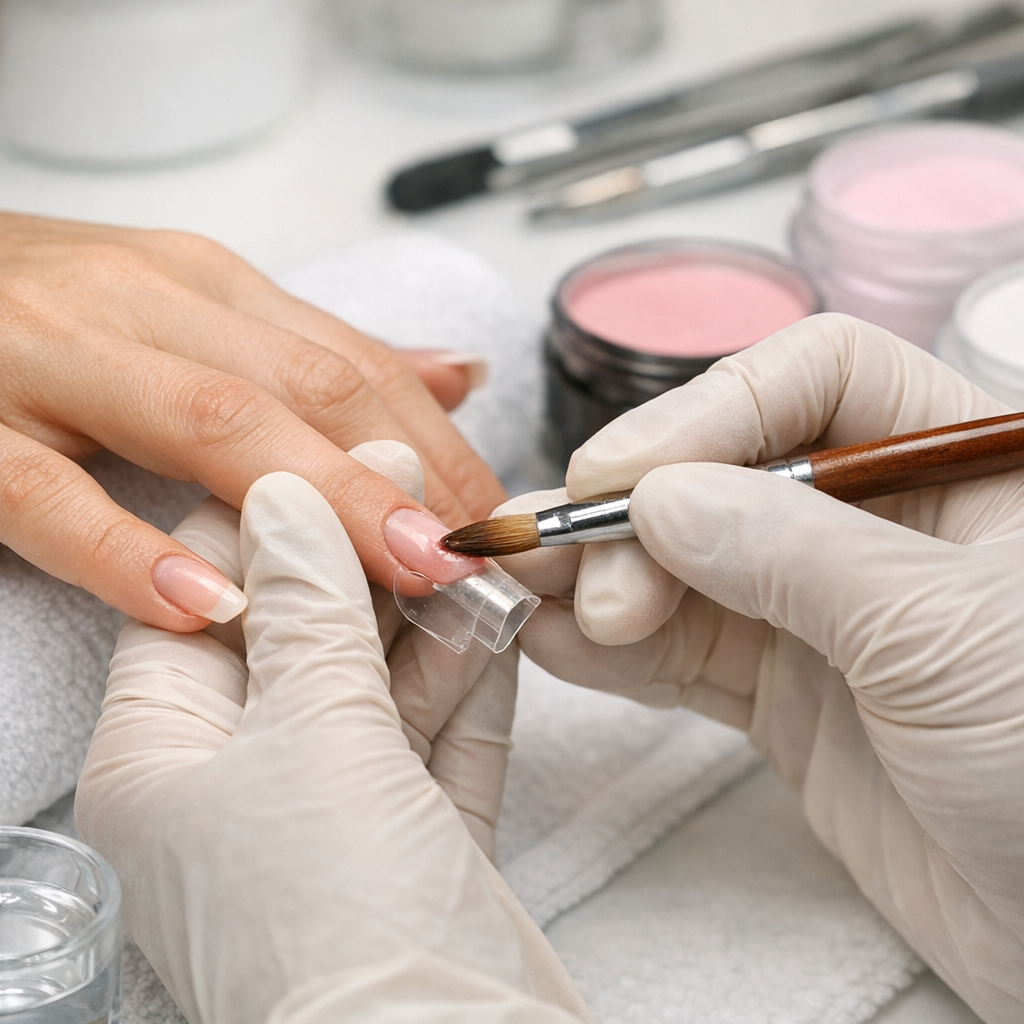
Wipe one side of the brush against the dappen dish to control the monomer volume.
Tap the brush tip into the powder to create a smooth, satin-textured bead.
Optimal Bead Placement for Structural Integrity
Divide the nail into three zones for precise product control and structural strength.
Zone one is the free edge, zone two is the stress area, and zone three is the cuticle.
Begin application at the stress area to build the apex immediately.
The apex provides the necessary support to prevent snapping at the natural nail’s growth point.
Use the belly of your kolinsky brush to pat and press the product into place.
Avoid dragging the brush, as this thins the material and weakens the enhancement.
Advanced Cuticle Area Execution
Precision near the eponychium determines the longevity of the nail set.
Leave a tiny margin between the acrylic and the skin to prevent chemical irritation.
A seamless transition ensures the nail looks natural as it grows out over several weeks.
Technicians at top-tier studios in Dallas emphasize the importance of thinning the product here.
The acrylic should be paper-thin at the cuticle and thickest at the apex.
This graduation of product creates a professional silhouette and prevents catching on hair or clothes.
Refining the Shape with Professional Filing
Hand filing is essential for refining the sidewalls and the lower arch.
Keep the file parallel to the nail to avoid over-filing the natural nail plate.
Use a 150-grit file for bulk removal and an 180-grit for smoothing the surface.
Check the nail from all angles, including the client’s view and the side profile.
Consistency in shape across all ten fingers is the hallmark of an expert technician.
Finish with a high-quality buffer to remove scratches before applying a professional top coat.
Professional Maintenance and Durability
Educating clients on proper aftercare is vital for maintaining the integrity of the acrylic.
Recommend daily cuticle oil application to keep the enhancement flexible and the skin hydrated.
Schedule regular maintenance appointments every two to three weeks to manage growth.
Proper removal is just as important as the initial application technique.
Soak the enhancements in professional-grade acetone rather than prying them off.
Preserving the health of the natural nail plate ensures a loyal and satisfied client base.