
Mastering the Rubber Base Gel Technique
The rubber base gel technique is a professional application method using a flexible, high-viscosity soak-off gel to reinforce natural nails and level the nail plate. This technique creates a durable foundation that prevents lifting and chipping, providing essential structural support for clients with thin, brittle, or flexible nails.
Essential Materials for Rubber Base Application
Executing a flawless rubber base service requires specific professional-grade supplies. Technicians must use a high-viscosity rubber base gel, a high-quality LED curing lamp, and precision liner brushes for detailing the perimeter.
Proper preparation tools are also vital, including 180-grit files, lint-free wipes, and professional-strength dehydrators. Using a dedicated primer compatible with the rubber base system ensures maximum chemical adhesion to the natural keratin.
Selecting the Right Viscosity
Rubber bases come in various thicknesses, often categorized by their self-leveling speed. Technicians in California often prefer medium-viscosity formulas that allow for quick leveling while maintaining enough control to build a structural apex.
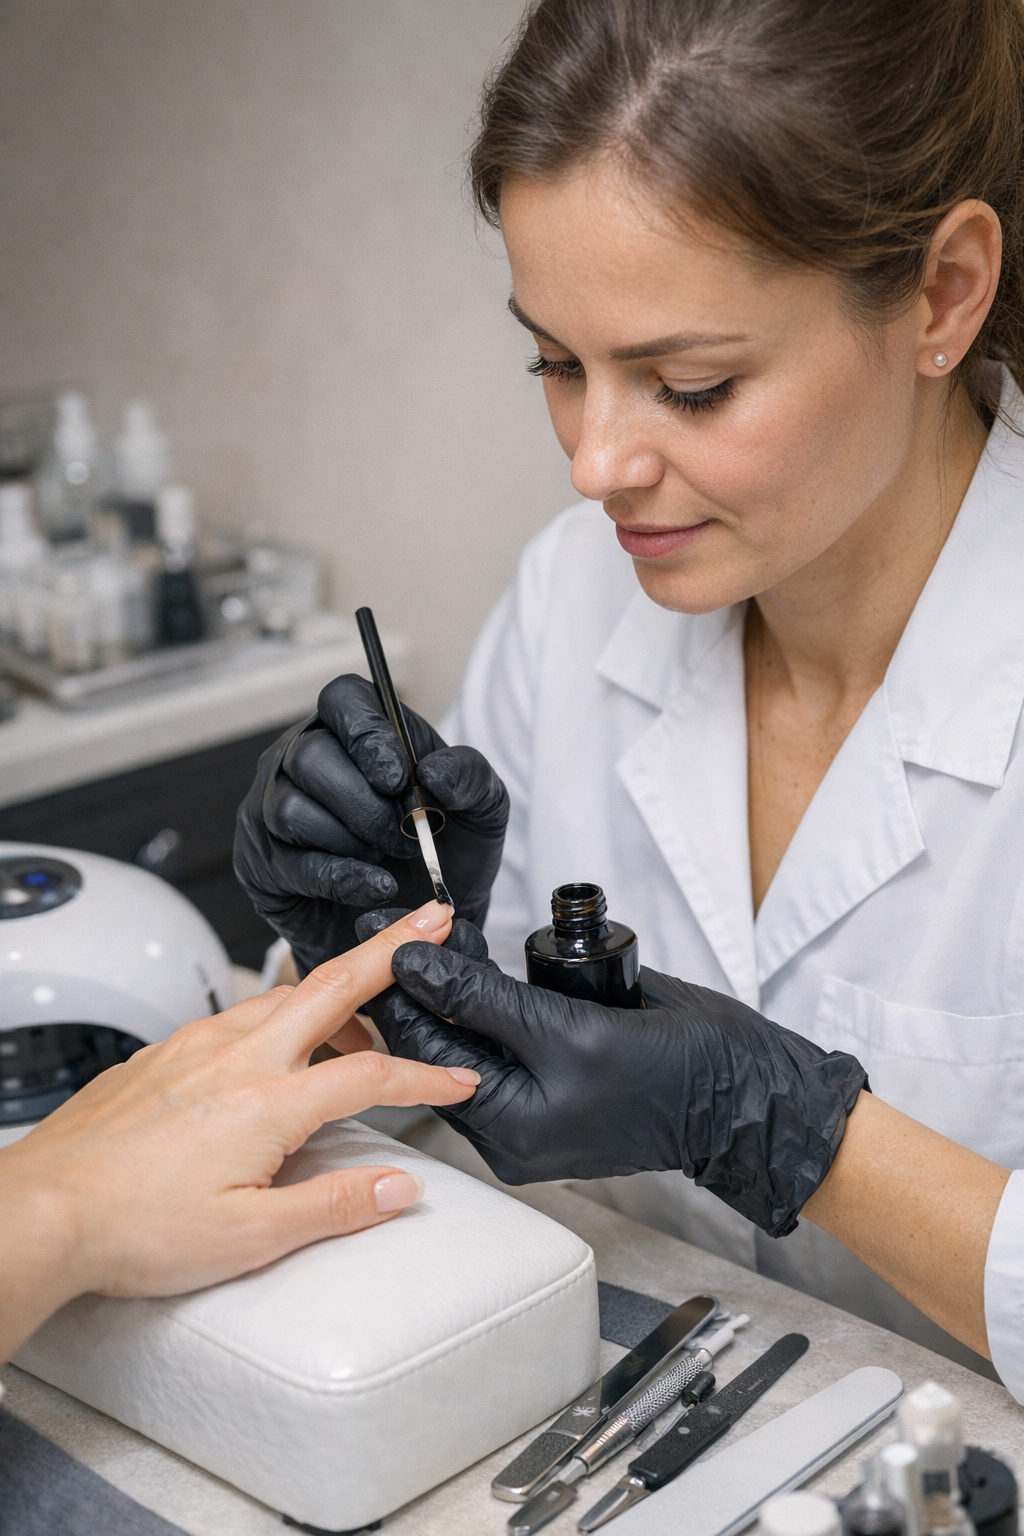
Step-by-Step Rubber Base Gel Execution
The success of the rubber base gel technique depends on meticulous nail plate preparation. Remove all non-living tissue from the eponychium area and gently buff the nail surface to remove shine without thinning the plate.
Apply a pH balancer and a non-acid primer to ensure a clean surface. These steps are critical for preventing the lifting issues commonly reported by professionals in New York salons during humid seasonal shifts.
The Slip Layer and Structural Apex
Apply a thin, uncured “slip layer” of rubber base over the entire nail plate. This layer acts as a guide for the larger bead of gel, allowing it to flow smoothly into place without flooding the sidewalls.
Place a larger bead of gel near the stress area and use a liner brush to guide the product toward the free edge and cuticles. Turn the client’s hand upside down for a few seconds to allow gravity to center the apex perfectly.
Heat Spike Management and Curing
Rubber base gels are dense and can generate significant exothermic heat during polymerization. Instruct clients to remove their hand from the lamp immediately if they feel a “heat spike” to prevent thermal damage to the nail bed.
Many modern LED lamps in professional U.S. settings feature a “low heat mode” specifically designed for rubber base systems. This setting gradually increases the light intensity to manage the curing process safely and comfortably.
Maintenance and Refill Protocols
One advantage of the rubber base gel technique is its ability to be filled rather than soaked off every visit. This preserves the integrity of the natural nail plate by reducing exposure to acetone and physical scraping.
Technicians in Florida typically recommend a maintenance appointment every three weeks. During the fill, the professional files down the previous apex, checks for lifting, and reapplies the rubber base to the new growth area.
Common Technical Errors to Avoid
Flooding the cuticles is the most frequent mistake when using high-viscosity gels. Always leave a tiny margin between the product and the skin to ensure a proper seal and prevent contact dermatitis or premature lifting.
Over-filing the rubber base during the finishing stage can also weaken the structure. Use a light touch with a 240-grit buffer to refine the shape before applying the final gel polish color or top coat.