
How to Prevent and Fix Acrylic Nail Lifting
Acrylic nail lifting is the separation of the acrylic enhancement from the natural nail plate, typically caused by inadequate preparation or improper product application. Professional nail technicians prevent lifting by performing detailed cuticle work, utilizing chemical dehydrators, and maintaining a precise liquid-to-powder ratio to ensure a secure, airtight bond.
Common Causes of Product Separation
Lifting often begins at the cuticle area or the lateral sidewalls due to leftover tissue on the nail plate. Even microscopic traces of the eponychium can prevent the monomer and polymer from fusing correctly to the keratin layers.
Environmental factors in humid climates like Miami, Florida, can also introduce moisture into the service area. If the natural nail is not completely dehydrated before application, trapped oils and water will inevitably push the acrylic away from the surface.
Improper liquid-to-powder ratios create brittle or overly flexible enhancements that cannot withstand daily wear. A bead that is too wet will shrink excessively during polymerization, pulling away from the edges and creating gaps.
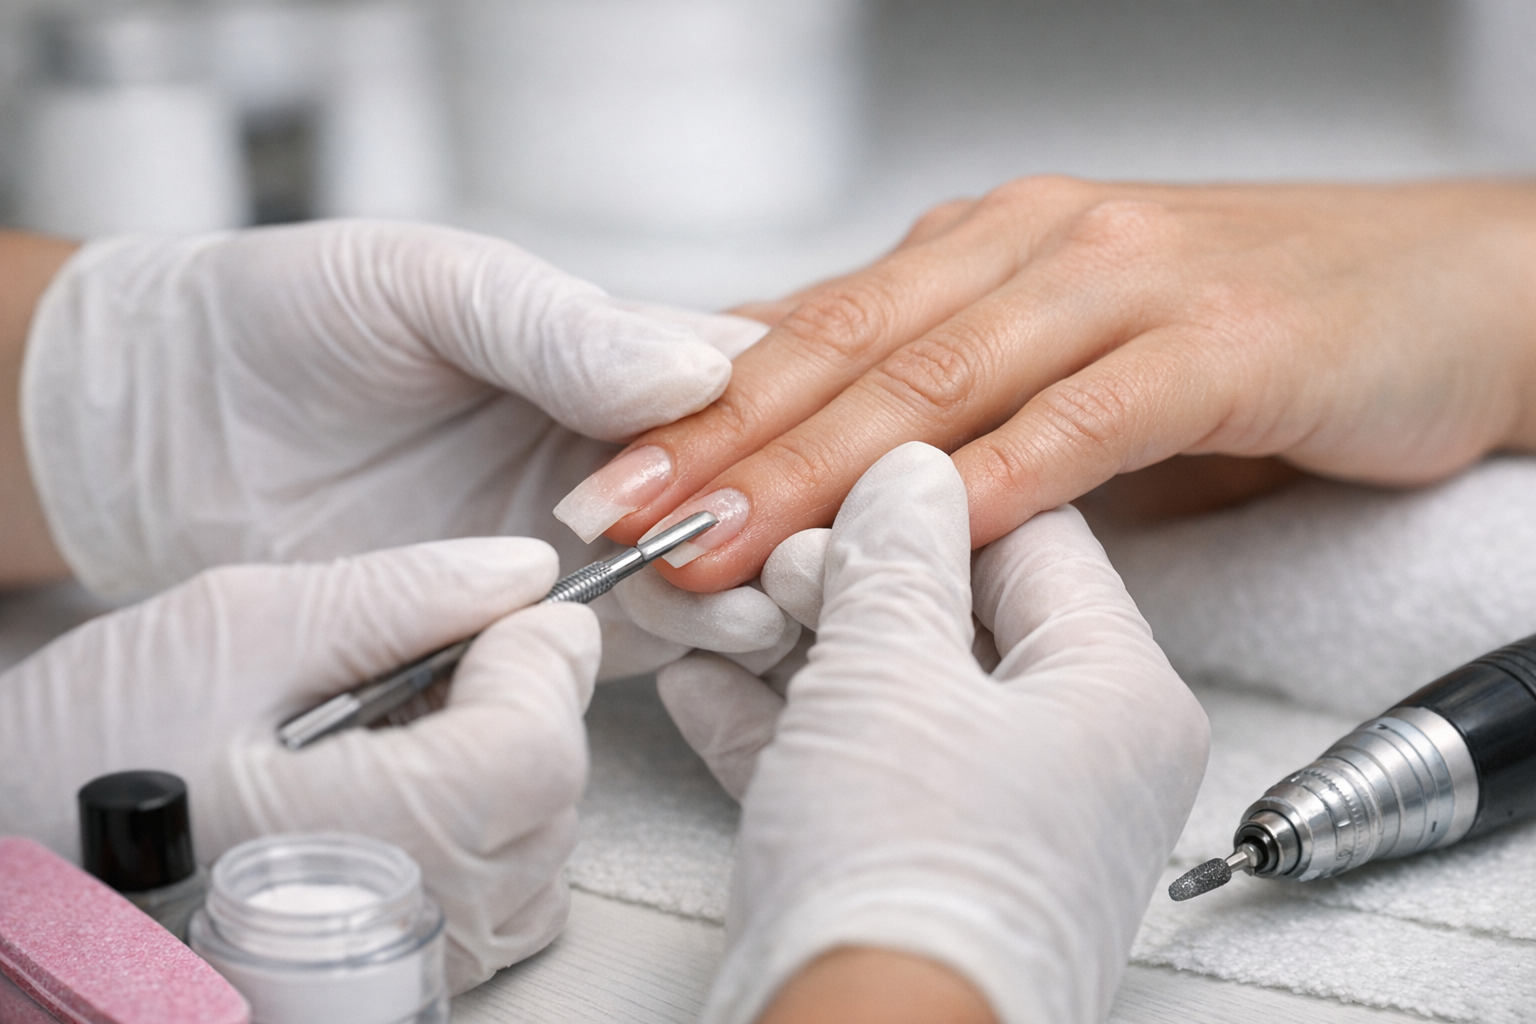
Professional Preparation Best Practices
Thorough mechanical preparation is the first line of defense against service breakdown. Use a high-quality 180-grit file or a fine-grit e-file bit to remove the shine and open the nail’s surface fibers without thinning the plate.
After mechanical filing, chemical preparation is essential for long-term durability. Apply a pH-balancing dehydrator followed by a professional-grade primer, ensuring the product does not touch the surrounding soft tissue or skin.
In high-volume salons in Los Angeles, California, technicians prioritize clean workstations to avoid dust contamination. Any debris trapped between the natural nail and the acrylic bead will compromise the integrity of the chemical bond.
Troubleshooting the Cuticle Area
Lifting at the base of the nail is almost always a result of product touching the skin. When the acrylic flows onto the cuticle, it creates a ledge that catches on hair and clothing, forcing the enhancement upward.
Always leave a tiny margin—the width of a hair—between the product and the proximal nail fold. This “tapering” technique ensures that the acrylic grows out smoothly without snagging or lifting at the base.
Solving Free Edge Chipping
Lifting at the free edge usually indicates that the natural nail is too thin or has delaminated. If the client’s natural nails are peeling, the acrylic cannot maintain a stable foundation, leading to premature cracking.
Ensure the free edge is properly capped and that the extension is balanced with a correct apex. An imbalanced nail puts too much pressure on the tip, causing the product to pull away from the natural free edge during impact.
Maintenance and Fill-In Techniques
During a fill-in service, all existing lifted areas must be completely removed before adding new product. Filing away the “pockets” of air ensures that moisture cannot be trapped underneath, which could lead to bacterial growth.
Use a medium-grit carbide bit to thin out the old acrylic near the growth area. This creates a flush transition for the new bead, preventing a visible line and reducing the risk of future lifting in the same spot.