
Professional Builder Gel Application Techniques
Professional builder gel application techniques involve applying high-viscosity UV or LED-cured resins to add strength, length, and structure to the natural nail. This technical process requires precise bead placement and apex construction to ensure the enhancement withstands daily stress while maintaining a refined appearance for the client.
Essential Tools for Hard Gel Services
Executing a flawless builder gel service requires specific professional-grade tools.
Technicians must use a high-quality LED or UV lamp with correct wattage.
The curing wavelength must match the specific gel brand chemistry to prevent lifting.
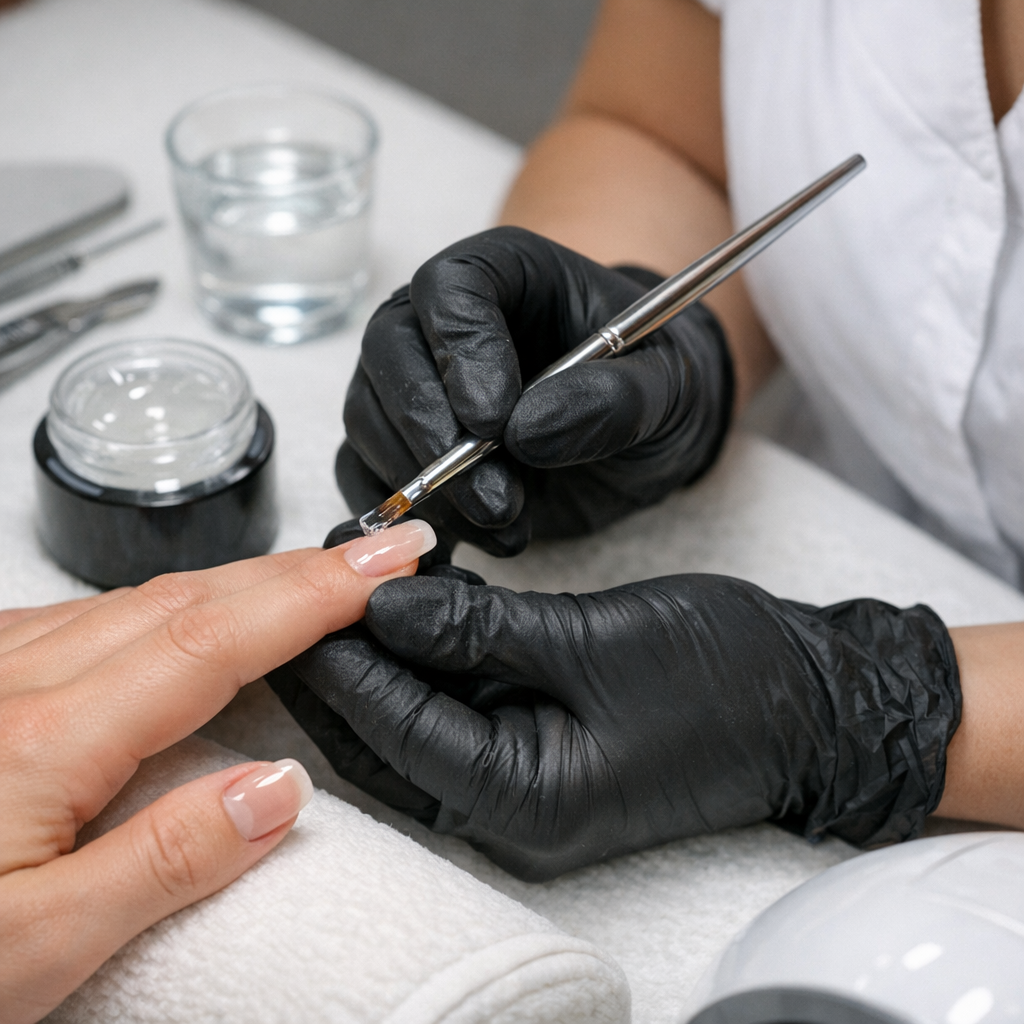
A dedicated gel brush with synthetic bristles is necessary for product control.
Oval or square brushes allow for precise placement near the eponychium.
Preparation tools like 180-grit files and pH-balancing dehydrators are mandatory.
Using lint-free wipes ensures the nail plate remains free of contaminants.
High-quality primers or bonding agents create the necessary chemical link.
These tools are standard in high-volume salons in Los Angeles and Chicago.
Advanced Preparation and Bond Execution
Mechanical preparation involves removing the non-living tissue from the nail plate.
Technicians use a fine-grit sanding band or a hand file to remove shine.
This creates a surface profile that allows the builder gel to anchor effectively.
Dehydration is a critical step to prevent premature service failure.
Applying a pH bonder removes surface oils and temporary moisture.
Professional standards in Florida require strict adherence to these sanitation protocols.
The base coat must be scrubbed into the keratin fibers of the nail.
A thin, even layer provides the foundation for the thicker builder layers.
Ensure the free edge is capped to prevent delamination during the wear cycle.
Mastering the Slip Layer and Bead Placement
The slip layer is a thin, uncured coating of gel applied to the nail.
It acts as a guide for the larger bead of builder gel to flow.
Technicians must avoid touching the side walls or cuticle area with this layer.
Pick up a medium-sized bead of gel on one side of the brush.
Place the bead near the cuticle area and gently push it toward the eponychium.
Guide the product down the center of the nail toward the free edge.
Achieving Proper Apex Placement for Durability
The apex is the thickest point of the nail enhancement for structural support.
Proper placement depends on the length of the nail extension.
On natural nails, the apex should sit over the stress area for maximum strength.
Use gravity to help level the gel by turning the hand upside down.
This technique centers the product and creates a smooth, rounded longitudinal arch.
Check the profile view to ensure the transition from the cuticle is seamless.
Refinement Filing and Finishing Standards
Once the gel is fully cured, the inhibition layer must be removed.
Use a high-percentage isopropyl alcohol solution to wipe the surface clean.
Refinement filing defines the shape and removes any bulk from the side walls.
A 150-grit file is ideal for shaping the free edge and perimeter.
Transition to a 180-grit buffer to smooth the surface for the top coat.
Consistent filing patterns ensure a symmetrical look across all ten nails.
The final top coat provides a high-shine finish and protects the structure.
Cure for the full manufacturer-recommended time to ensure a complete polymer chain.
This professional finish is the hallmark of elite nail technicians across the United States.