
Professional Nail Lifting Troubleshooting and Tips
Professional nail lifting troubleshooting focuses on correcting improper nail plate preparation, eliminating surface contaminants, and ensuring precise product application to prevent service failure. Technicians must thoroughly remove the cuticle, dehydrate the nail plate, and avoid skin contact. Mastering these best practices ensures durable, long-lasting results for gel and acrylic services.
Identifying Common Causes of Product Lifting
Product lifting typically occurs when the bond between the natural nail and the enhancement is compromised.
The most frequent cause is the presence of non-living tissue on the nail plate during the prep phase.
Nail technicians must ensure the eponychium is pushed back and the true cuticle is removed.
Surface oils and moisture are secondary culprits that interfere with chemical adhesion.
Even a small amount of residual dust can create a barrier that leads to premature peeling.
Maintaining a clean, debris-free workspace is essential for service durability in busy salons.
Improving Mechanical Preparation Techniques
Proper etching of the nail plate provides the necessary surface area for products to grip.
Using a 180-grit file or buffer helps remove the natural shine without thinning the nail.
Consistency is key to ensuring that the entire surface is prepared from the cuticle to the free edge.
In high-volume environments like those in New York, technicians may rush the prep stage.
However, skipping mechanical prep is the primary reason for lifting within the first forty-eight hours.
Taking an extra two minutes per client can significantly reduce the need for free repairs.
Best Practices for Chemical Adhesion
After mechanical prep, chemical dehydration is the next critical step in preventing lifting.
Use a professional pH balancer and a high-quality primer to prepare the keratin layers.
Wait for the dehydrator to completely evaporate before applying any base or enhancement product.
Environmental factors in states like Florida can introduce high humidity into the service area.
Moisture in the air can settle on the nail plate before the product is applied.
Applying a second layer of dehydrator immediately before the base coat helps combat this issue.
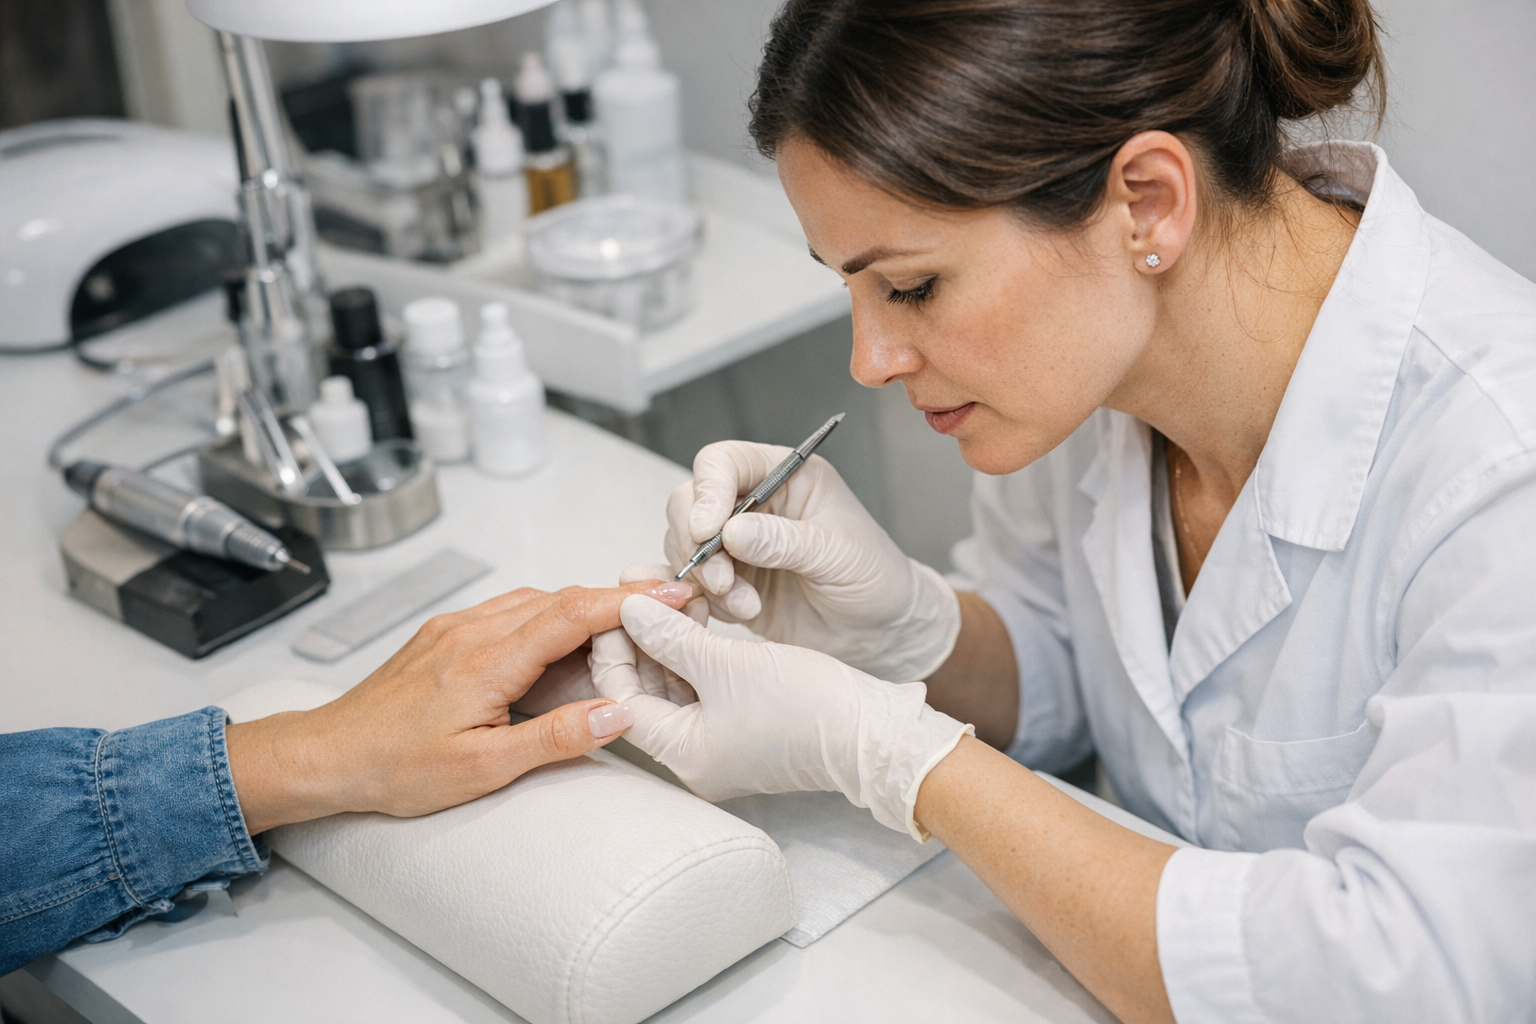
Refining Application Near the Sidewalls
Product flooding into the sidewalls or cuticle area is a major cause of mechanical lifting.
Once the product touches the skin, it creates a bridge that pulls away as the nail grows.
Maintain a tiny margin between the product and the surrounding soft tissue for a clean finish.
Using a “bead-and-push” technique allows for better control near the eponychium.
Always check the lateral folds for any stray gel or acrylic before curing.
Clean up any excess with a brush dipped in cleanser to ensure a perfect seal.
Troubleshooting Curing and Finishing Errors
Under-cured product often looks finished on the surface but remains soft underneath.
This lack of structural integrity causes the product to pull away from the free edge.
Regularly check that your LED or UV lamp bulbs are functioning at their maximum output.
The free edge must be capped with every layer of product to prevent tip lifting.
Capping seals the layers together and protects the natural nail from water penetration.
Failure to cap the edge is a common mistake that leads to chipping and peeling.
Addressing Client Aftercare and Lifestyle Factors
Sometimes lifting is caused by client behavior rather than technician error.
Clients who use their nails as tools or expose them to harsh cleaners will experience lifting.
Provide a clear aftercare guide explaining that the nails are not indestructible.
Advise clients to wear gloves when performing household chores or gardening.
Suggest regular cuticle oil application to keep the natural nail flexible.
Flexible nails move with the enhancement, reducing the risk of the bond breaking under pressure.