
Mastering Rubber Base Gel Application Techniques
Rubber base gel application is a professional nail technique used to reinforce the natural nail plate and provide a flexible, durable foundation for manicures. This method utilizes a high-viscosity soak-off gel that fills ridges and strengthens weak nails, offering superior adhesion compared to standard base coats for long-lasting salon results.
Understanding Rubber Base Gel Properties
Rubber base gels differ from traditional base coats due to their increased flexibility and thicker viscosity. This chemical composition allows the product to move with the natural nail, preventing chips and cracks.
Professional nail technicians in cities like Chicago often utilize these gels for clients with brittle or thin nail plates. The material acts as a shock absorber, protecting the free edge from daily impact.
These products are typically self-leveling, which assists in creating a smooth surface without excessive filing. This efficiency is critical for maintaining a high-volume workflow in a busy nail salon.
Preparation of the Natural Nail Plate
Successful adhesion starts with meticulous dry manicure techniques. Use a 180-grit file to gently remove the shine from the nail plate and clear away all non-living tissue from the eponychium area.
Dehydrate the nail thoroughly using a professional-grade pH bonder. This step ensures that no oils or moisture interfere with the bond between the keratin and the rubberized gel polymers.
In high-humidity environments like Miami, ensuring a completely dry nail plate is essential. Any trapped moisture can lead to premature lifting or bacterial growth under the enhancement.
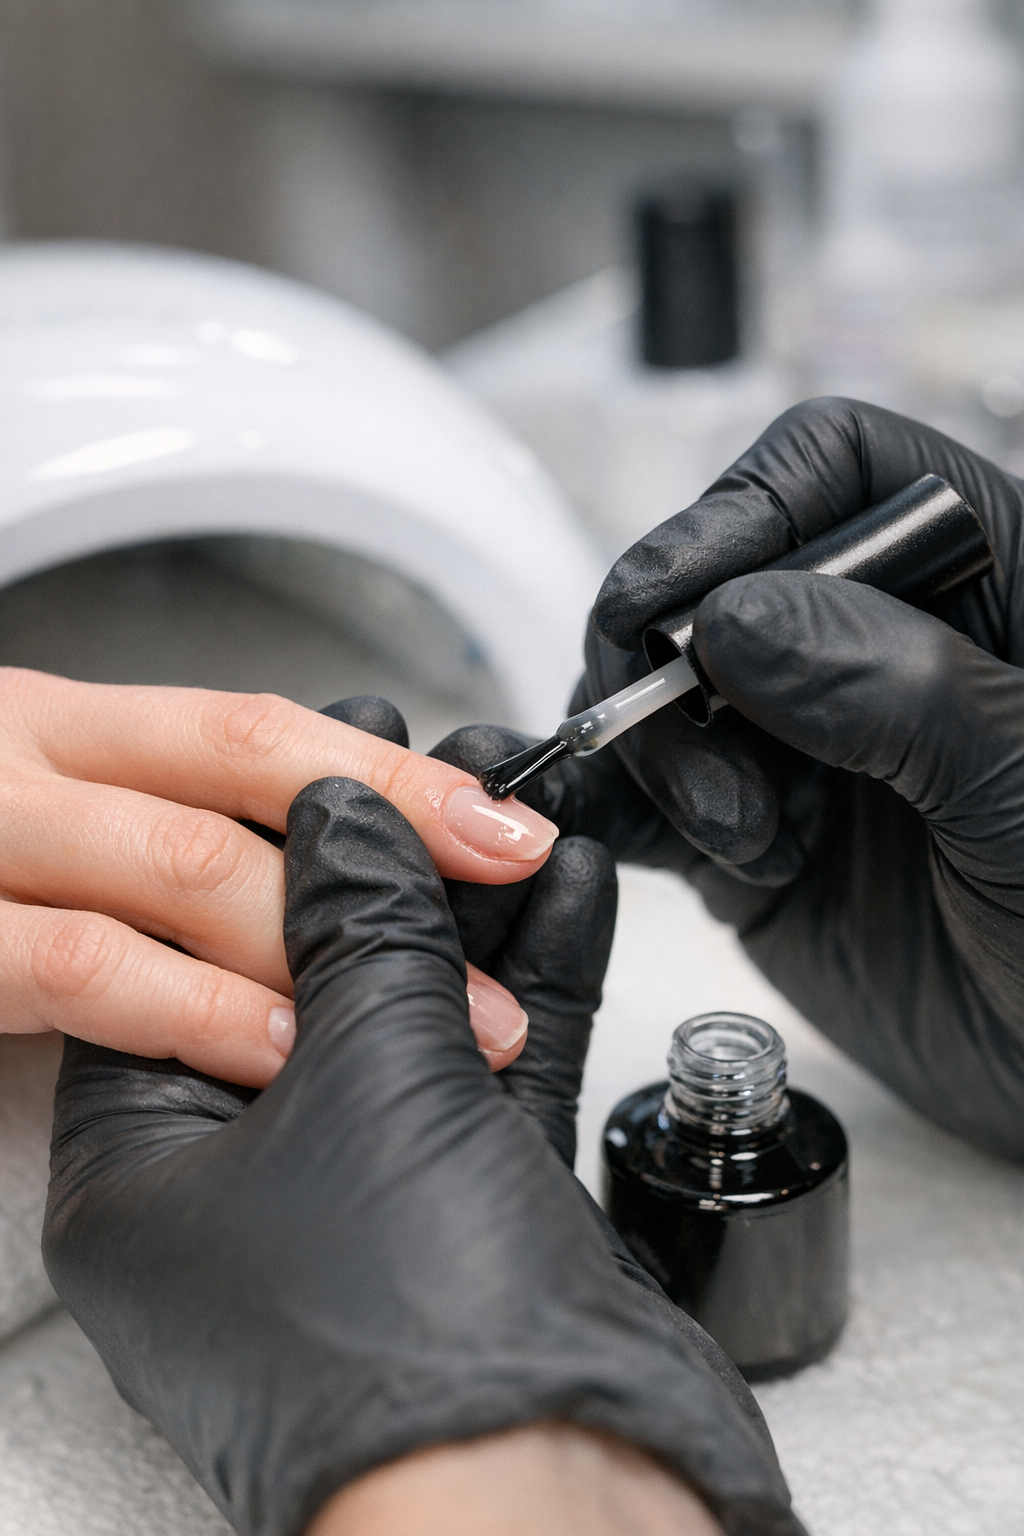
The Scrub Layer Technique
Apply a very thin “scrub layer” of the rubber base to the nail plate first. Use a firm-bristled gel brush to work the product into the microscopic grooves of the natural nail.
This initial layer should not be cured until you are ready to build the architecture. It serves as a slip layer that guides the larger bead of gel into place during the next step.
Building Nail Architecture and the Apex
Pick up a larger bead of rubber base gel and place it near the cuticle area, leaving a small gap. Allow the gel to flow toward the free edge, guided by your slip layer.
Flip the client’s hand upside down for several seconds to allow gravity to pull the gel toward the center. This technique creates a perfect apex, which provides structural integrity to the nail.
Check the “line of light” to ensure there are no bumps or dips in the surface. Nail tech professionals in Dallas emphasize this step to ensure a high-end, reflective finish on every set.
Curing and Heat Spike Management
Because rubber base is thicker, it can generate a heat spike during polymerization. Instruct clients to place their hands in the LED lamp slowly or use a “low heat mode” setting.
Ensure the product is fully cured according to the manufacturer’s specifications. Under-curing can lead to service breakdown and increase the risk of chemical sensitivities for the client.
Refining and Finishing the Service
Once cured, the rubber base can be wiped with isopropyl alcohol to remove the inhibition layer for shaping. Use a 150-grit buffer to refine the side walls and the free edge shape.
If the application was performed with precision, minimal filing should be required. This saves time and reduces the amount of dust generated within the nail salon environment.
Apply gel polish directly over the refined base or finish with a high-shine top coat for a “natural look” service. This technique is a staple for modern nail technicians across the United States.