
Nail Apex Placement
Nail apex placement is the strategic positioning of the thickest point of a nail enhancement to provide essential structural reinforcement. To ensure durability, the apex must be located over the stress area, typically the middle third of the natural nail bed, where it absorbs pressure and prevents breakage or lifting during wear.
The Importance of Structural Reinforcement
Correct nail apex placement is the foundation of a long-lasting service in professional nail salons across the United States. Without a properly positioned apex, enhancements become top-heavy or prone to snapping at the stress point.
The apex acts as a shock absorber for the natural nail. It balances the weight of the product, ensuring that the leverage exerted on the free edge does not damage the underlying nail plate.
In high-volume markets like New York City, technicians prioritize apex precision to reduce repair appointments. A well-placed apex allows for a thinner free edge while maintaining superior strength.
Locating the Stress Area
The stress area is the zone where the nail is most likely to break under pressure. You can identify this by gently pressing the free edge; the area that turns white on the nail bed is the primary stress point.
For most clients, this is located just above the lunula. The apex should be built directly over this zone to provide a fulcrum that supports the entire structure of the enhancement.
Technicians in California often use the “side view” check to ensure the highest point of the arch aligns perfectly with the center of the stress area before curing or filing.
Apex Placement for Different Nail Lengths
Short to Medium Enhancements
For short enhancements, the apex should be subtle and positioned slightly behind the center of the nail bed. This prevents the nail from looking bulky while providing enough support for daily activities.
The transition from the cuticle area to the apex must be a smooth, gradual incline. This ensures that as the nail grows out, the balance remains stable for at least three weeks.
Long and Extreme Extensions
Longer extensions, such as stiletto or coffin shapes, require a more pronounced apex. The added length increases leverage, meaning the stress area requires significantly more reinforcement to prevent snapping.
For extreme lengths, the apex may be shifted slightly further back toward the cuticle area. This compensates for the forward weight of the extension and maintains the center of gravity over the nail bed.
Techniques for Building the Apex
The Gel “Float” Method
When using builder gel, use a “bead and float” technique to create the apex. Apply a thin slip layer first, then place a larger bead of gel at the stress area and guide it toward the edges.
Invert the client’s hand for a few seconds to let gravity pull the gel into a natural arch. This self-leveling approach creates a smooth apex that requires minimal filing and refining.
Acrylic Bead Consistency
In acrylic application, the second bead is typically used to establish the apex. The polymer-to-monomer ratio must be precise to ensure the bead stays where it is placed without running into the sidewalls.
Press the acrylic firmly at the zones near the cuticle and free edge, leaving the bulk of the material over the stress area. This creates the structural “backbone” required for professional-grade enhancements.
Common Apex Placement Mistakes
Placing the apex too far forward toward the free edge is a frequent error. This makes the nail “front-heavy,” leading to premature lifting at the cuticle and increased risk of painful breaks.
Conversely, an apex placed too close to the cuticle creates a “hump” that looks unnatural and offers no support to the stress area. This results in a weak free edge that chips or snaps easily.
A flat nail with no apex at all is a major safety concern. Without structural reinforcement, the natural nail plate bears the full weight of any impact, which can lead to severe onycholysis or nail bed trauma.
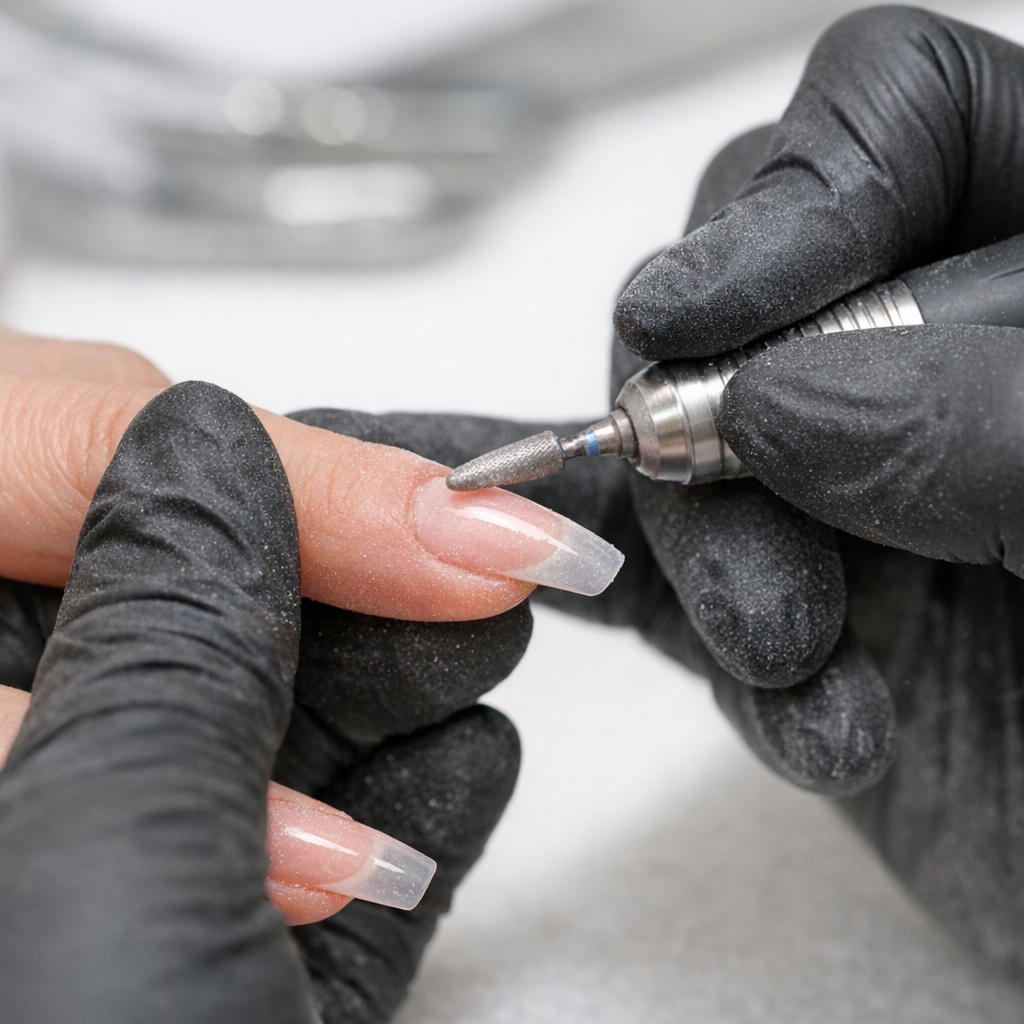
Refining the Profile through Filing
Once the product has polymerized or cured, use a 180-grit file to refine the silhouette. File in long, fluid strokes from the cuticle toward the free edge to maintain the integrity of the arch.
Check the nail from the side profile and the “barrel” view. The apex should flow seamlessly into the sidewalls and taper down to a thin, crisp free edge for a professional aesthetic.
Maintaining consistent nail apex placement across all ten fingers is the hallmark of a skilled technician. This precision ensures client satisfaction and reinforces the safety standards of the professional nail industry.